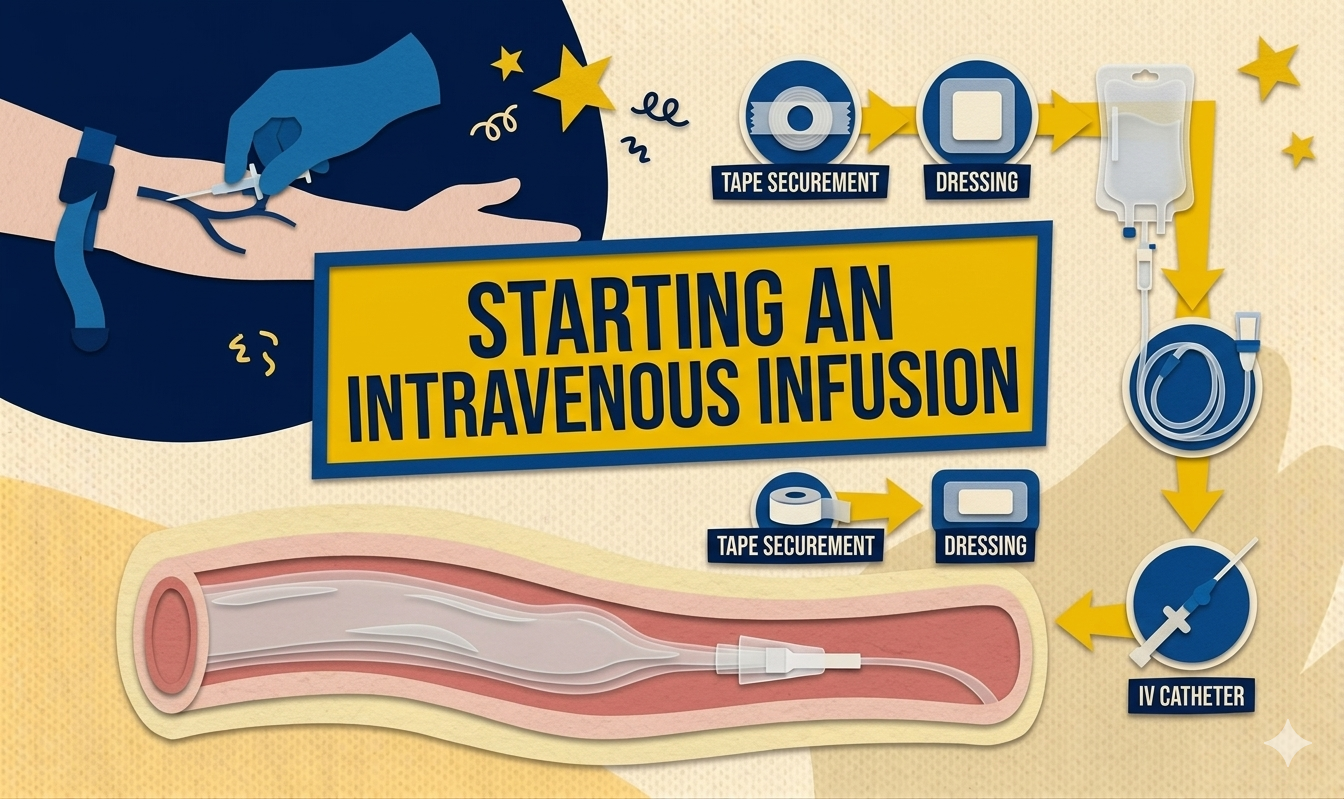
Starting an intravenous (IV) infusion is a clinical procedure in which a sterile catheter or needle is inserted into a vein to establish direct access to the bloodstream. This allows healthcare providers to administer fluids, medications, blood products, or nutrients efficiently and accurately. IV infusion is commonly used in hospitals and clinical settings to maintain hydration, correct electrolyte imbalances, deliver medications rapidly, and provide nutritional support when oral intake is not possible.
Why is this procedure performed?
- To provide a direct route for administering fluids and medications.
- To maintain or restore fluid and electrolyte balance.
- To administer blood and blood products when needed.
- To provide nutrients to patients who cannot take food orally.
- To allow rapid delivery of emergency medications.
- To maintain venous access for continuous treatment and monitoring
Materials Needed
- IV Solution
- IV cannula or steel-winged needle
- Administration set
- IV pole
- Tourniquet
- Aseptic swab
- Tape
- Bandage scissors
- Dressing material
- Arm board
- Kidney basin
- Clean gloves
ASSESSMENT
- Review the physician’s order
PLANNING
- Wash your hands
- Choose appropriate equipment
- Set up IV fluid tubing. Spike the appropriate administration set to the prescribed IV fluid.
- Prime the tubing.
- Take the equipment to the bedside
IMPLEMENTATION
- Identify the patient and explain the procedure
- Wash your hands and don gloves.
- Select a position of comfort for yourself
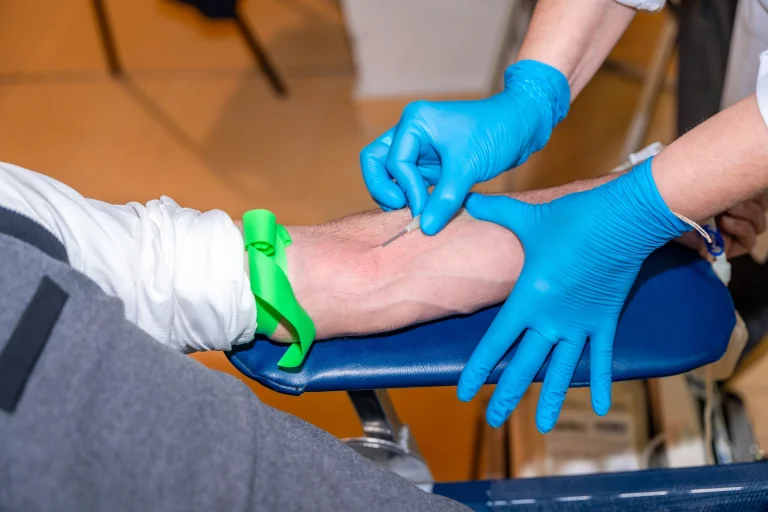
- Locate the vein. Apply a tourniquet 5 to 12 cm. (2-6 inches) above the insertion site
- Prepare the site with effective topical antiseptic according to hospital policy or cotton balls with alcohol on circular motion and allow 30 seconds to dry.
Using the IV Cannula:
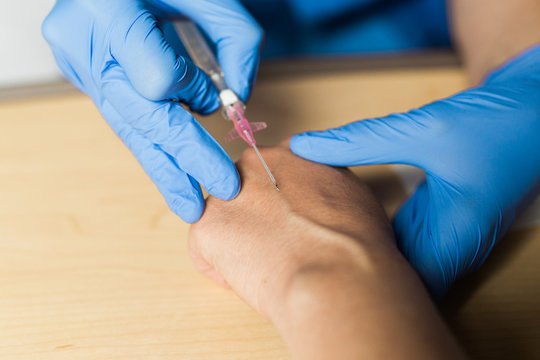
- Pierce the skin with needle positioned on 15-30 degree angle, upon flashback visualization, decrease the angle, and advance the catheter and stylet into the vein.
- Position the IV catheter parallel to the skin. Hold stationary and slowly advance the catheter off of the stylet until the hub meets the puncture site.
- Release the tourniquet, remove the stylet while applying digital pressure over the catheter with one finger about ½ inch from the tip of the inserted catheter
Using the Steel-winged needle
- Pierce the skin with the needle’s bevel up, position on a 5-10 degree angle
- With the steel-winged needle parallel on the skin, enter the vein directly and advance the needle ¼ inch after successful venipuncture. Check for backflow.
- Release tourniquet
.jpeg)
- Slip a sterile gauze pad under the catheter hub.
- Attach the infusion tubing and open the roller clamp enough to allow drip.
- Anchor needle firmly in place with tape.
- Place a transparent tape/dressing directly over the puncture site.
- Regulate the flow of infusion according to the physician’s order.
- Label the IV fluid bottle
- Remove and discard gloves. Wash hands.
EVALUATION
Evaluate, using the following criteria:
- Right patient, right solution, right time, right amount, right rate.
- IV secure
- Patient’s comfort
DOCUMENTATION
Document IV insertion on appropriate chart form.