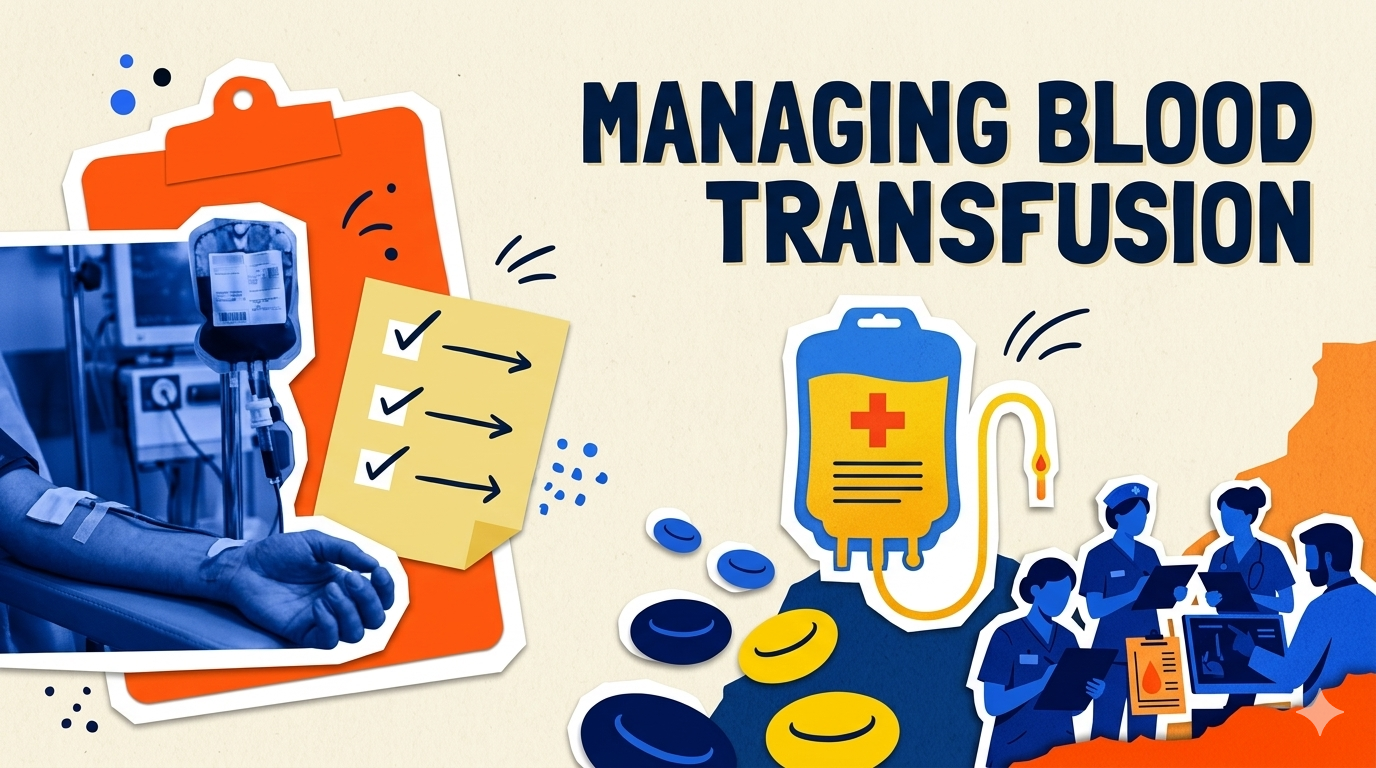
Managing blood transfusion is the process of administering blood or blood products to a patient through the intravenous route to replace lost blood components and improve the patient’s circulating blood volume. This procedure involves careful preparation, verification of blood compatibility, monitoring during the transfusion, and observation for any adverse reactions to ensure patient safety.
Why is this procedure performed?
- To replace lost blood or blood components.
- To increase the patient’s fluid volume.
- To improve hemoglobin and hematocrit levels.
- To enhance oxygen delivery to body tissues.
- To manage conditions such as anemia, blood loss, or bleeding disorders.
- To prevent overadministration of blood products and detect complications associated with transfusion.
Materials Needed
- Blood transfusion tubing (blood Y set with in-line filter)
- 1L Normal saline solution (0.9 NaCl)
- Packed cells or whole blood (as ordered)
- Blood crossmatching result
- Vital signs flow sheet (for monitoring)
- Non-sterile gloves
- Alcohol swabs
- Needle gauge 18 / gauge 21
- Hand/face towel
Assessment
- Review physician’s order for type, amount and rate of infusion
- Baseline vital signs, circulatory, respiratory and skin status
- Baseline complete blood count, blood type and cross-match result
Planning
- Determine the equipment that you will need
- Wash your hands
- Gather materials needed
Implementation
- Explain the procedure to the client particularly the need for frequent vital sign checks
- Request blood/blood component from hospital blood bank with same blood type with the patient/recipient
- Secure result of blood typing and cross matching from the laboratory
- Warm blood at a room temperature by wrapping the blood bag with a towel. Blood should be transfused not more than 20 minutes from the time it arrives from the blood bank
- Have a co-nurse countercheck the compatible blood to be transfused with the cross matching
result:
- Name and identification number
- Clients’ blood group and Rh type
- Donor’ blood group and Rh type
- Cross match compatibility
- Blood unit and serial component
- Expiration date of blood product
- Give pre-medication 30 minutes before transfusion if any is ordered
- Wash hands and don gloves
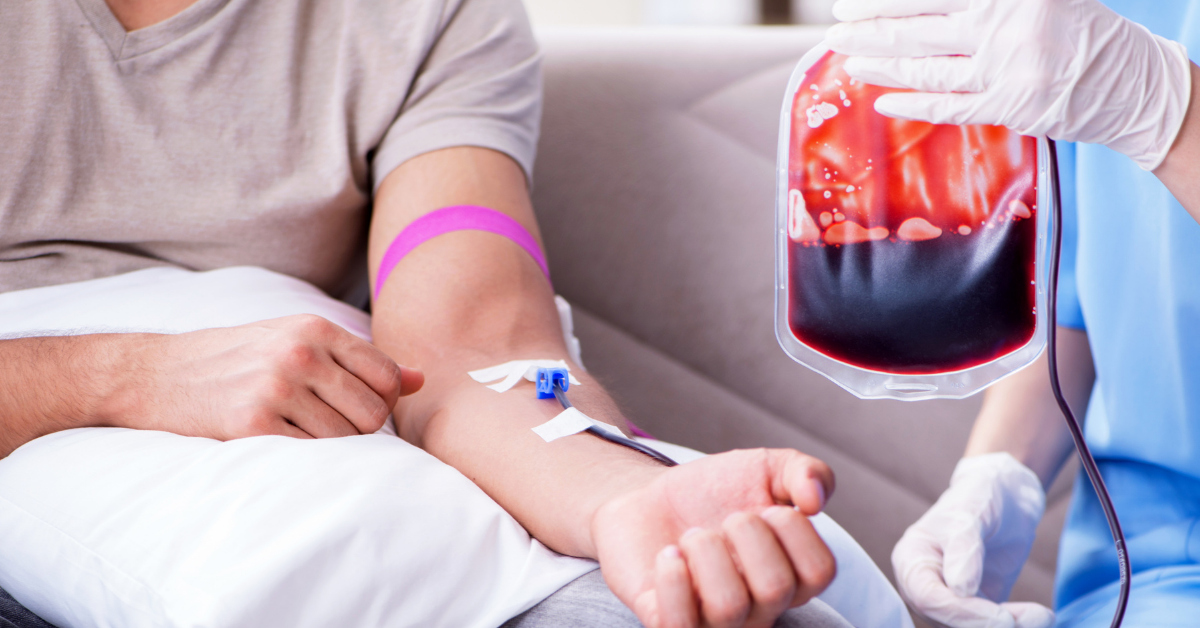
- Initiate an IV line with appropriate IV catheter with Plain NSS, anchor catheter properly and regulate rate
- Open compatible blood aseptically. Open packaging of the blood transfusion set (BT administration set), close the roller clamp and attach a large bore needle
- Spike the blood bag carefully. Hang the blood bag in the IV pole
- Fill the drip chamber of the BT administration set into half then prime tubing and remove bubbles
- Disinfect the Y injection port of the main line IV tubing and insert the needle from the BT administration set and secure with adhesive tapes
- Close IV fluid of Plain NSS or regulate to KVO while transfusion is ongoing
- Transfuse the blood (4–6 hrs) via injection port at 10–12 gtts initially for 15 minutes then regulate at ordered rate
- Observe for any untoward signs and symptoms (flushed skin, chills, elevated temperature, itchiness, urticaria and dyspnea); if any occurs, STOP the infusion, open IV line with NSS and report to the physician
- Remove gloves
- Swirl the bag once in a while
- If blood is consumed, don gloves. Close roller clamp of BT set then disconnect from IV line
- Regulate the IVF as ordered
- Discard used BT equipment to proper bins
- Remove gloves and wash hands

Evaluation
- Carry out post BT order such as rechecking hemoglobin and hematocrit levels, bleeding time etc.
Documentation
- Document observations and interventions done